In
In  Apr.10,2024
I went to use my over the ear, hearing protection the other day and noticed that the ear cushions had completely collapsed and were not replaceable. I decided it was time to upgrade to a “smart” variety. Mainly I did this because when I am blacksmithing with my son, it is hard to communicate. We also do a bit of of clay pigeon shooting, and it would be nice to be able to talk there too. With some online research I narrowed it down to two.
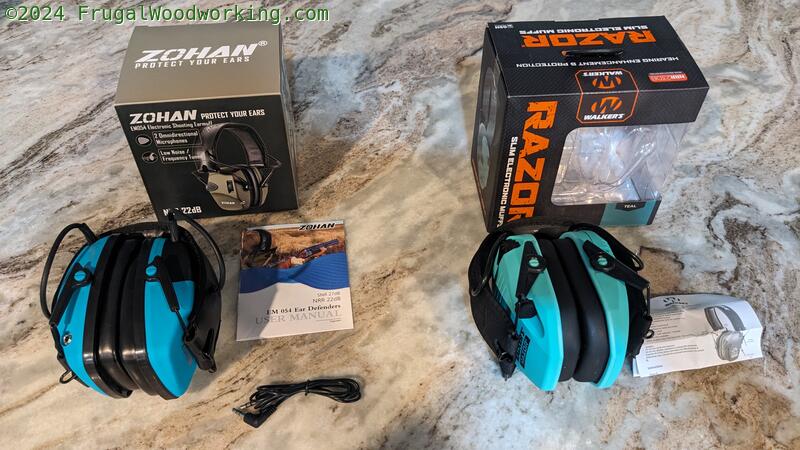
They are very similar in style and price and come fairly well rated.
Here is what I found by buying one of each (paid full price) and comparing them side by side.
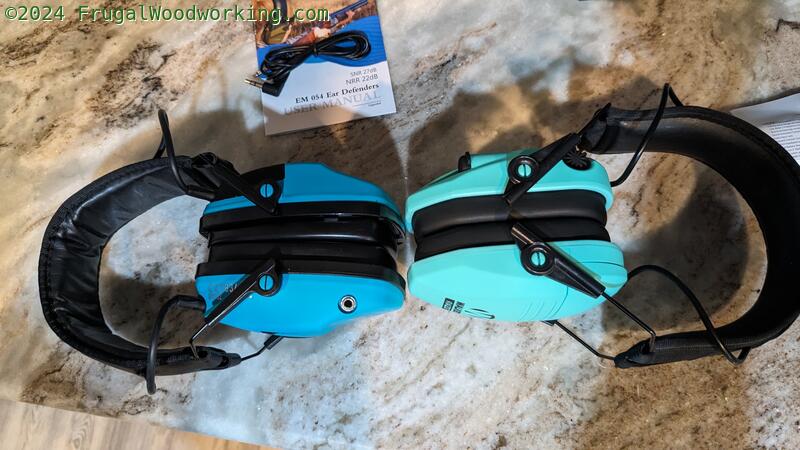
- Weight : Nearly identical. No clear winner
- Slim profile: Nearly identical. The Walker’s Razor Slim is just a tiny bit more slim.
- Noise reduction: They both do a great job of clipping off the loud noises. The Walker’s are rated for -23dB noise reduction, and the Zohan -22dB. I tried them both while hitting my anvil the same way. I could not tell a difference between the two, at all.
- Comfort: Getting the Zohan with the gel pads makes both products the same price (without the gel, the Zohan is cheaper than the Walker’s) The Zohan is MUCH more comfortable. I can wear them with glasses on and they still seal well and do not make the glasses ear pieces hurt. Zohan is the hands down winner on this win.
- Ambient sound: They both have the ability to bring in and even amplify sounds from your surroundings. Background music, discussion, other non-loud noises. The Walker’s sound is more static filled and hissy. The real downside to the Walker’s Razor is that the sound is not stereo. Both ears get the same sound so you can’t detect where the sound is coming from. The Zohan’s shine in that you can hear the noise well AND you can tell where it is coming from. Whether you are in the shop or in the field, you need directional sound for better situational awareness. Zohan wins this one.
Auxiliary input: They both have aux jacks for plugging into music or maybe even a walkie talkie. The Zohan comes with a cable, the Walker’s do not. A plus for the Walker’s Razor is they they have a rubber plug to cover the jack while the Zohan does not. In reality I would never use the headset jack (most phones got rid of them years ago). I call this one a draw.
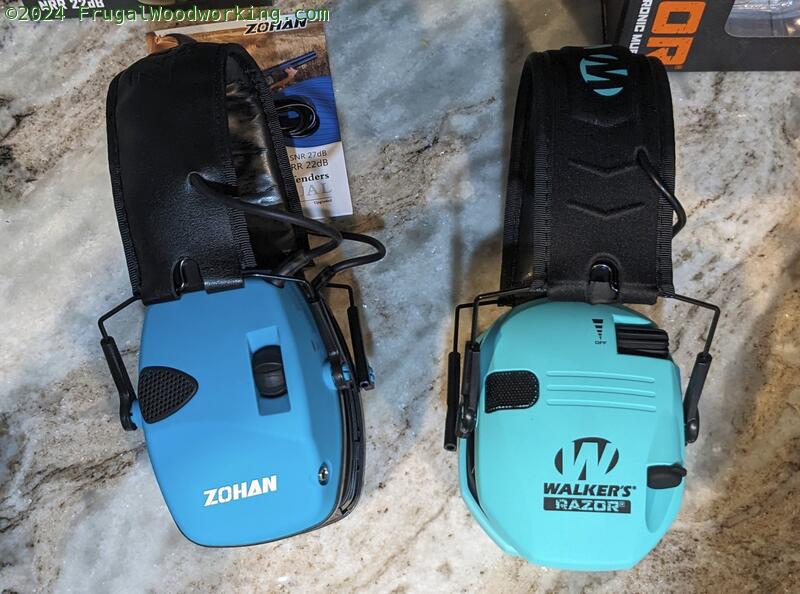
Volume / on switch: They are nearly identical. They are in the same location and work the same way. The Walker’s is a little easier to find with your finger, than the Zohan, but the Zohan seem’s better protected. They both work smoothly. The one bonus to Zohan is that it shuts off automatically after 4 hours.
Power: They both use two AAA cells. (Walker’s comes with them, the Zohan does not). I do not know how they compare in terms of run time, though I have a guess. The Walker’s make a slight static noise all the time, that will likely run the batteries down faster than not making static.
Build Quality: It’s a draw. They both seem the same in terms of quality. Only a real torture test of several months would like surface a difference.
Final Verdict: I sent the Walker’s Razor Slim back and ordered another pair of Zohan. For me it cam down to two things.
- The increased comfort. The more comfortable they are, the more likely I am to use them. The Zohan with the Gel pads. was not just a little more comfortable, they were a lot more comfortable.
- Better situational awareness due to being able to hear where other sounds are coming from.